Build a Spring Boot Web Service Application
In this story, I will build a sample Spring Boot application that serves as a simple RESTful Web Service.
If you want to skip to the result, you may check the GitHub repo.
Before reading, you may want to confirm you have installed JDK 11 on your computer.
Download a Template
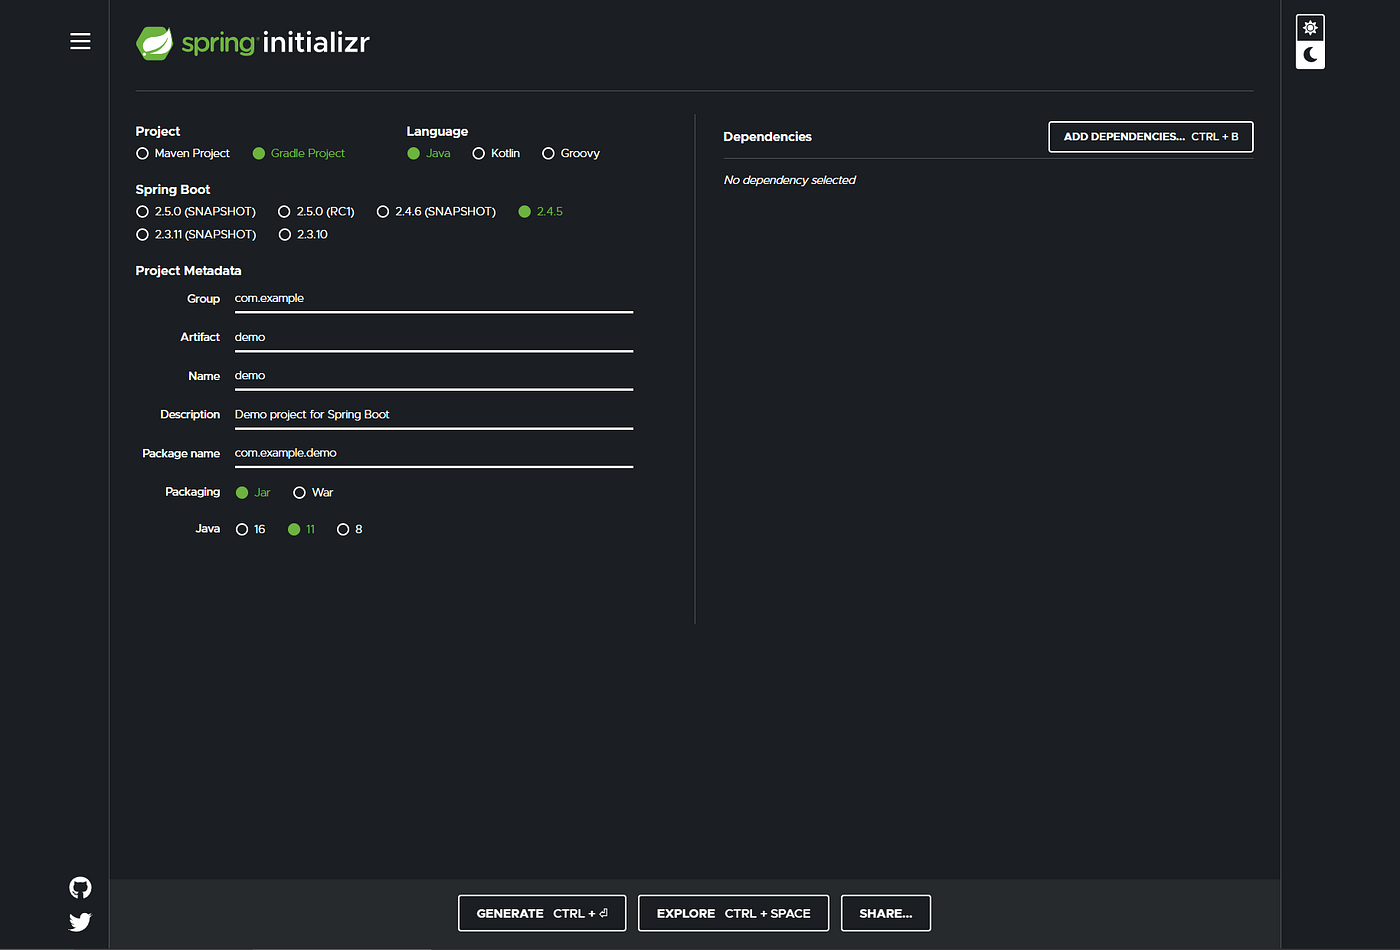
Go to https://start.spring.io/ and set the project metadata you want. I am going to use Gradle, Java 11, and Spring Boot 2.4.5 for project initialization. Click “GENERATE” to get the project skeleton. A “demo.zip” should be downloaded.
Open with VS Code and Setup the IDE for Spring Boot
You may unzip the project into any folder you want and open it with VS Code.
Open the DemoApplication.java, you may see that VS code automatically ask you for installing the Java extension. Click Install for the Java extension.

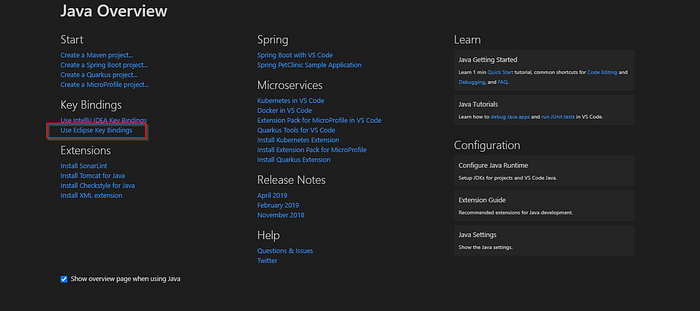
After installing the Java extension, the Java Overview page will be shown. There are many useful extensions for Spring Boot development in VS Code. For now, I will install the Spring Boot Extension Pack.

Next, we install the Java Code Generators which will be useful for Generating code templates for Java.
Open the Extensions tab in the VS Code and enter sohibe.java-generate-setters-getters . Install this extension in your VS Code. It will be useful for creating the properties setter and getter and constructors and more.

Next, you may install OpenJDK 11 if you haven’t installed it yet. Go to “Configure Java Runtime”.

Select the version of JDK you want to download. Here, I select OpenJDK 11 with Hotspot JVM.
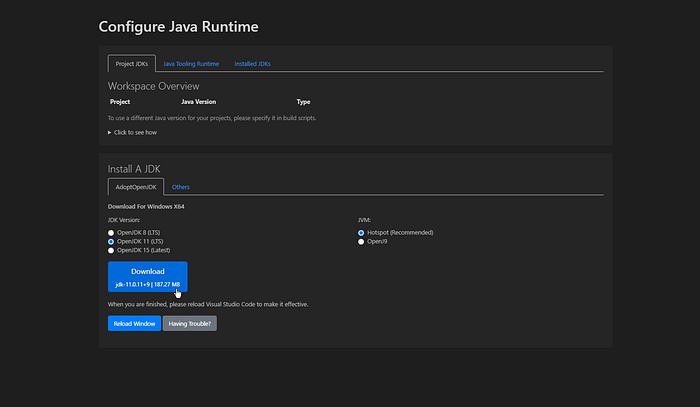
An MSI file should be downloaded. Execute it for installing the JDK.
Reopen the VS code.
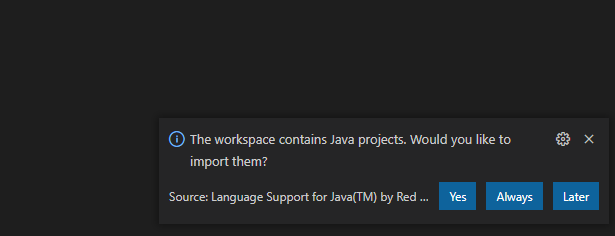
The VS Code will scan the project folder and ask if you want to import the Java projects it found. Click Yes for the demo project.
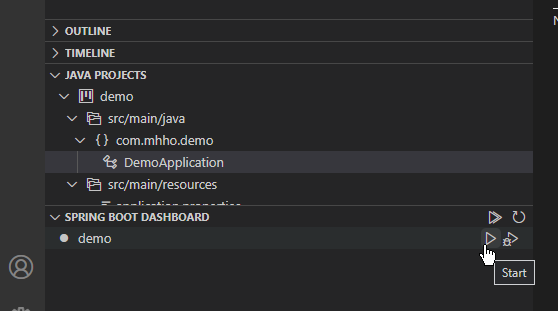
After loading, you may see your project in the Spring Boot Dashboard. You can start the App by playing the start button.
If you face any problems, please confirm your JAVA_HOME environment variable is set up properly.
Finally, for the Key Bindings part, I am going to use Eclipse Key Bindings.
For now, you have set up most of the settings for VS code.
Develop the Application
First, we set up the build.gradle for importing the packages we needed. Replace the implementation org.springframework.boot:spring-boot-starter to be org.springframework.boot:spring-boot-starter-web
We will add an actuator package for creating a health check endpoint for our web service. Insert implementation 'org.springframework.boot:spring-boot-starter-actuator' inside the dependencies section.
Your build.gradle should look like this.
we will create a folder inside the com.mhho.demo package and name it model .
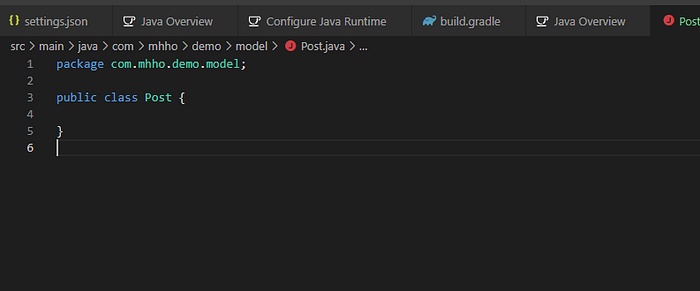
Create a file named Post.java inside the model folder. VS Code will automatically create the Java class structure for us. Following is the result I have got.
Next, we create two String variables in the Post model.
package com.mhho.demo.model;public class Post { private String postId; private String postBody;}
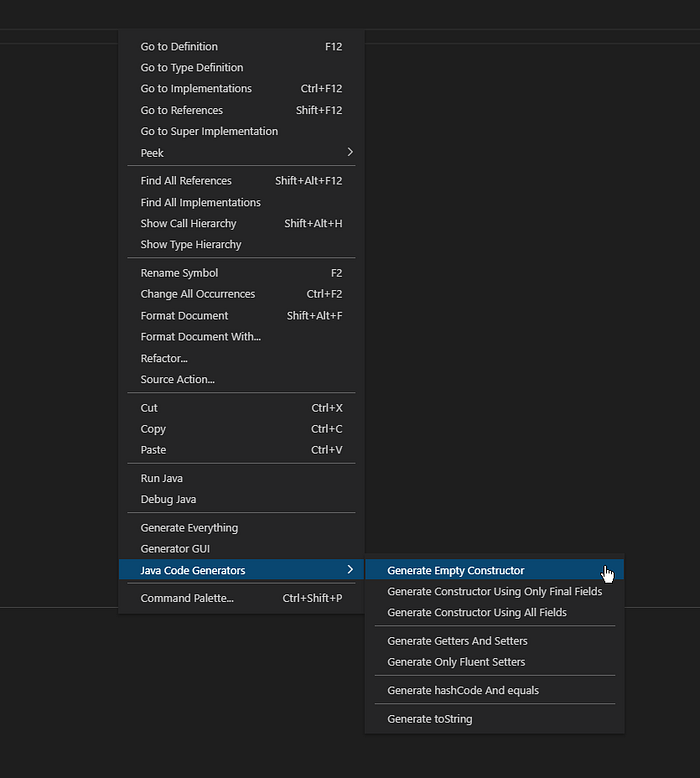
We can create the constructor and variables getters and setters by the Java Code Generator extension installed.
The resulting code should be similar to this.
Next, we are going to the controller and service layer.
Create controller and service folder under the com.mhho.demo package.
Create PostService.java in the service folder. We add the Service annotation in front of the class to indicate the class is a service component.
Create a method for returning the post based on postId.
Then we are going to create the PostController.java in controller folder. It will provide a RESTful API for getting the post.
After that, start your application with the Spring Boot Dashboard. Enter http://localhost:8080/posts/1 in your browser. You can get back the post detail object.
For checking the application’s health status, you may enter http://localhost:8080/actuator/health in your browser.
End?
This is a brief introduction to Spring Boot Web Service application. You can do a lot more with the framework and we will use this project as the base project for other stories.
